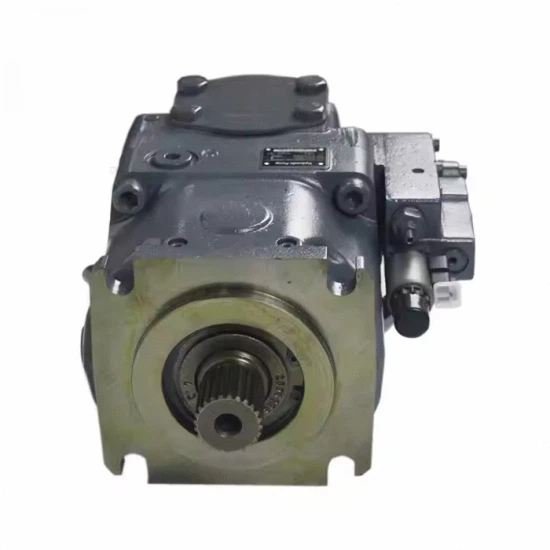
How to replace the seals in a PGH plunger pump?
Aug 11, 2025
Hey there! I'm a supplier of PGH plunger pumps, and today I'm gonna walk you through the process of replacing the seals in a PGH plunger pump. It might seem a bit daunting at first, but with the right steps and a bit of patience, you'll have your pump up and running in no time.
First things first, let's talk about why you might need to replace the seals in your PGH plunger pump. Over time, seals can wear out due to constant use, exposure to high pressures, and the harsh chemicals that the pump might be handling. When the seals start to fail, you might notice leaks, reduced pump performance, or even complete pump failure. So, replacing the seals is crucial to keep your pump in top shape.

Tools and Materials You'll Need
Before you start the replacement process, you'll need to gather the right tools and materials. Here's a list of what you'll need:
- A set of wrenches and sockets
- A seal puller or a small flat - head screwdriver
- A clean workbench and some rags
- New seals that are specifically designed for your PGH plunger pump
- Hydraulic fluid for lubrication
Step 1: Preparation
Safety first! Make sure the pump is turned off and disconnected from any power source. Also, relieve the pressure in the pump system. You don't want any unexpected spurts of hydraulic fluid when you start working on the pump.
Next, clean the area around the pump. This will prevent any dirt or debris from getting into the pump when you remove the old seals. You can use a clean rag and some mild cleaning solution to wipe down the pump housing.
Step 2: Locating the Seals
The seals in a PGH plunger pump are usually located in the pump housing, around the plungers, and at the pump inlet and outlet ports. You might need to refer to the pump's manual to find the exact location of the seals. It's a good idea to take some pictures of the pump before you start disassembling it. This will help you put everything back together correctly later.
Step 3: Removing the Old Seals
Once you've located the seals, it's time to remove the old ones. Use a seal puller or a small flat - head screwdriver to gently pry the old seals out. Be careful not to damage the pump housing or any other components while you're doing this. If the seals are really stuck, you can apply a little bit of heat using a heat gun to make them easier to remove. But don't overdo it, as too much heat can damage the pump.
Step 4: Inspecting the Pump
While you have the old seals out, take a good look at the pump housing and other components. Check for any signs of wear, damage, or corrosion. If you notice any issues, you might need to replace other parts as well. For example, if the pump housing has scratches or pits, it could cause the new seals to fail prematurely.
Step 5: Installing the New Seals
Before you install the new seals, make sure they are clean and free of any defects. Apply a thin layer of hydraulic fluid to the new seals. This will make them easier to install and will also help prevent them from drying out.
Carefully place the new seals in the same location where the old ones were. Use your fingers or a small tool to gently press the seals into place. Make sure they are seated properly and there are no gaps or wrinkles.
Step 6: Reassembling the Pump
Once the new seals are installed, it's time to put the pump back together. Follow the pictures you took earlier and refer to the pump's manual if needed. Tighten all the bolts and nuts to the recommended torque settings. Over - tightening can damage the pump, while under - tightening can cause leaks.
Step 7: Testing the Pump
After reassembling the pump, it's time to test it. Reconnect the pump to the power source and slowly start the pump. Check for any leaks around the seals. If you notice any leaks, stop the pump immediately and check the seal installation.
If everything looks good, let the pump run for a few minutes to make sure it's operating smoothly. Monitor the pump's performance, including the pressure and flow rate.
Related Products
As a PGH plunger pump supplier, I also offer a range of other high - quality hydraulic pumps. For example, we have the Rexroth A11VLO130 Crane Drilling Machine Mechanical Pump. This pump is designed for heavy - duty applications in crane and drilling machines. It's known for its reliability and high performance.
Another great product is the REXROTH PGF3 Gear Pump. Gear pumps are simple and efficient, and the REXROTH PGF3 is no exception. It's suitable for a wide range of industrial applications.
We also have the Pilot Pump PV7 - 1X/PV7 - 1A Rexroth. This pilot pump is an important component in many hydraulic systems, providing the necessary control pressure.
Conclusion
Replacing the seals in a PGH plunger pump is a task that requires careful attention to detail, but it's definitely doable. By following these steps, you can extend the life of your pump and ensure its optimal performance.
If you're in the market for a new PGH plunger pump or any of the related products I mentioned, don't hesitate to reach out. We're here to help you find the right hydraulic pump for your needs. Whether you're a small - scale operation or a large industrial facility, we have the products and expertise to meet your requirements. Contact us for more information and let's start a great business relationship!
References
- Hydraulic Pump Maintenance Manuals
- Industry - specific technical guides on hydraulic systems